
How to Build a Garden Wall in 7 Easy Steps
| Key Takeaways (TL;DR) Planning Permissions: Check with your local authority, especially for retaining walls or walls over 2m high. Dig the Foundation Trench: Dig a trench approximately 200mm deep and 300mm wide. Pour the Foundation: Lay and compact a hardcore base, then pour and perfectly level the concrete mix (allow 48–72 hours to cure). Laying the Blocks: Use a tight string line to guide you. Lay blocks on a uniform 10mm layer of mortar, checking for level after each one. Use Stretcher Bond: Stagger each new course so the blocks overlap the joint below. This step is crucial for strength and preventing cracks. Add Coping: Top the wall with a protective coping layer to shed rainwater and prevent mortar erosion. Avoid Mistakes: Do not rush the foundation, ensure mortar consistency, and always use the string line for every course. |
Looking to add a beautiful, lasting feature to your home? A new garden wall is the perfect project. It might seem daunting, but with the right preparation and a clear, step-by-step guide, it’s a perfectly achievable challenge for any enthusiastic DIYer.
This guide will walk you through the essential steps to construct a simple, single-skin brick or block garden wall, giving you the confidence to get the job done right. Whether you’re building a small garden wall to edge a patio or a larger boundary, the core principles remain the same.
Ready to get started? Let’s lay the groundwork for your perfect wall.
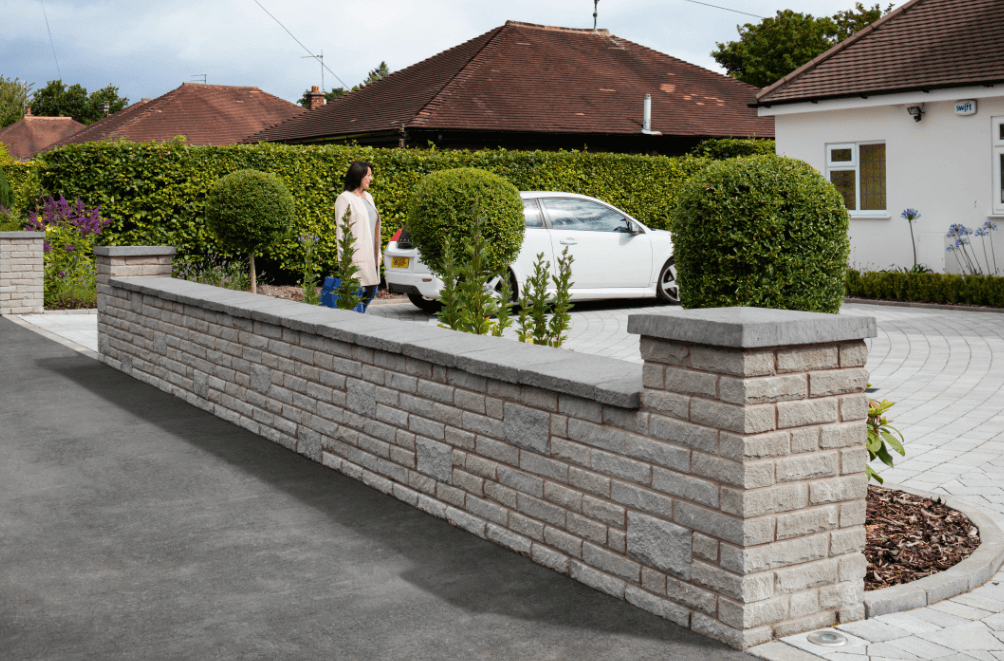
| Tools | Materials |
|---|---|
| Shovel and Spade: For digging the trench. Wheelbarrow: For transporting materials like concrete and mortar. Spirit Level (long): To ensure level surfaces. Tape Measure: For precise measuring. Line Pins and String Line: Essential for keeping courses straight and level. Trowel (Brick and Pointing): For laying mortar and finishing joints. Mortar Board or Spot Board: To hold and work the mortar. Rubber Mallet: To gently tap bricks into place. Bolster Chisel and Club Hammer (or Brick Cutter): To cut bricks. Safety Gear: Gloves, safety boots, and eye protection. | Bricks or Concrete Blocks: Choose your types of bricks for garden walls based on aesthetics and purpose. Exterior bricks must be frost-resistant. Cement, Sand, and Lime (or Mortar Plasticiser): For the foundation and mortar. Ballast/Aggregate: For foundation concrete. Damp Proof Course (DPC): A waterproof membrane to prevent rising damp. Coping Stones (Optional): For the finishing top layer. |
The Step-by-Step Process: How to Build Your Garden Wall
Follow these steps to ensure a strong, level, and long-lasting garden wall.
Step 1 — Planning & Permissions
Permits & Building Regulations
Before any groundwork, always check the legal requirements.
- Generally, a wall under 1 metre high next to a highway or road, or under 2 metres high elsewhere, does not require formal building regulation approval.
- However, if you are building a retaining wall (holding back earth), or if the wall is situated in a conservation area, you must check with your Local Authority Building Control Department. Planning permission may be required.
Marking the Line / Site Layout
- Map out your wall’s exact perimeter using stakes, line pins, and a string line. This process allows you to visualise the site layout and confirm measurements before breaking ground.
- Ensure the corners are perfectly square before proceeding to the excavation.
Step 2 — Dig the Foundation Trench
A sturdy wall starts with a solid base. Don’t skip this step; it’s crucial for stability.
- Dig the Trench: Start by digging a trench for your wall. A good rule of thumb is a depth of 200mm (8 inches) and a width of 300mm (12 inches). This depth and width provide a secure and stable seating for your blocks.
- Mark the Path: Use wooden pegs and string to mark the edges and path of your wall. This step acts as a visual guide and helps you keep the trench perfectly straight.
- Levelling is Key: Use a spirit level on the string line to ensure the pegs are all perfectly level. An uneven start will mean an uneven wall!
- Check the Soil: If your soil is soft or loose, use a tamper or plate compactor to firm up the bottom of the trench before you continue.
- Drainage Check (Important for Retaining Walls): If your wall is designed to hold back soil (a retaining wall), you’ll need a deeper trench and good drainage. Consider adding a layer of gravel to the bottom to prevent water build-up, which could weaken the structure.

Suggested product: MOT Type 1 Sub Base
MOT Type 1 hardcore is crushed gravel that forms the sublayer for road surfaces and pathways. Hardwearing, this gravel provides a load-bearing, stable layer and a flat surface before a top coating of asphalt, concrete, shingle or block paving.
Step 3: Prepare the Foundations: Pouring the Base
The foundation base will provide the true, stable support for your entire wall.
- Infill with Hardcore: Lay down a 100mm (4 inches) layer of compacted hardcore (crushed stone/gravel) in the trench. Doing this provides stability, necessary strength, and aids drainage by preventing water from collecting under the base.
- Mix the Concrete: Prepare a concrete mix (typically 6 parts ballast to 1 part cement). Add water slowly until it’s smooth and workable, but not runny. This blend ensures a robust, durable base layer that bonds the hardcore and protects the wall from moisture.
- Pour and Level: Pour the concrete over the hardcore, filling the trench to the required level. Use a straightedge and spirit level to make the surface even and smooth. A level concrete base ensures your first course of blocks sits perfectly flat, which is critical for the rest of the wall.
- Let it Set: Allow the concrete to set and harden for 48-72 hours before placing any blocks, giving the foundation enough time to gain the strength needed to support the full weight of your finished wall.
- Retaining Wall Drainage: For retaining walls, either drill small weep holes or lay a perforated drainage pipe before pouring the concrete. Doing this directs water away from the base, preventing pressure build-up and potential collapse.

Suggested product: Blue Circle
Mastercrete – Paper Bag
This product offers consistent, quality results for a wide range of standard building applications, including concrete, mortar, rendering and screeds. Suitable for use on all projects from small DIY jobs to major construction.
Step 4 – Build One Course at a Time: Laying the Blocks
These next steps are where the wall begins to take shape, requiring precision and constant checks to ensure a vertical, strong structure.
- Set a Building Line: Stretch a building line (string) tightly from end to end, positioning it to guide the faces of your blocks. This line acts as your straightedge for the entire wall. Trust the line!
- Prepare the Mortar: Mix the mortar (typically 4 parts building sand to 1 part cement). It should be thick enough to support the blocks without squeezing out excessively. Only mix what you can use in about 30 minutes to prevent it from drying out.
- Apply Mortar: Spread a uniform, 10mm layer of mortar onto the foundation using a trowel. Ensure a good spread to provide a stable, sticky surface for the blocks.
- Lay the Blocks: Lay the first course of blocks, tapping them gently with a rubber mallet to bed them firmly into the mortar. Fill the vertical joints by buttering the ends of the blocks as you go. Aim for about 10mm of mortar between the blocks (the joints). At this point, you’ll also lay your DPC (Damp Proof Course) if you’ve chosen to include one.
- Check Level and Square: After laying each block, use a spirit level to check its level side-to-side and front-to-back. Check the diagonals of the whole course to ensure it’s perfectly square. Regular checks prevent misalignments that can compromise the whole structure.
- Clean Up: As you work, use your trowel to remove excess mortar that squeezes out. Doing this prevents unsightly stains and makes the finishing process much easier.
Tip: When mixing mortar, only make up small batches – enough that you can use them within about 30 minutes. This little trick helps make sure your mix stays workable and doesn’t start to set before you’ve had a chance to apply it.
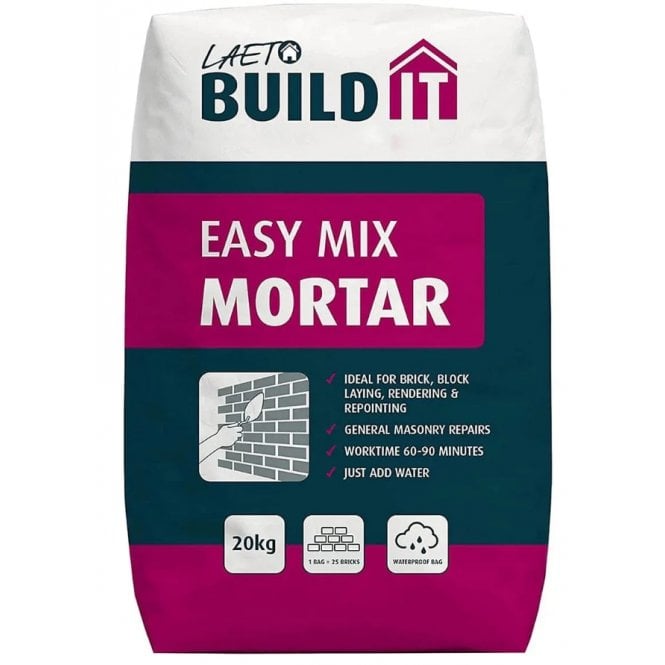
Suggested product: Build it mortar 20kg
Build It Mortar in Pennine finish is a high-quality, pre-mixed mortar ideal for bricklaying, blockwork, and general masonry projects. Supplied in convenient 20kg weather-resistant bags, this ready-to-use mix provides excellent workability and consistent performance for both domestic and commercial applications.
Step 5 – Laid in a Stretcher Bond: The Overlap for Strength
The stretcher bond pattern is the gold standard for wall stability and appearance.
What is a Stretcher Bond?
In this pattern, each block in a new course is placed so that it overlaps the joint of the two blocks below it. This staggering ensures that no vertical joints line up between rows.
Why it’s Crucial: This overlap evenly distributes the wall’s weight, dramatically increasing its strength and resistance to cracking.
Laying the Pattern:
- Start the First Course: Begin with a full block.
- Start the Second Course: Begin with a half-block to create the necessary offset.
- Alternate: Continue alternating between a full-block start and a half-block start for each subsequent course (the third course starts full, the fourth starts half, and so on).
- Cutting Blocks to Fit: Use a chisel and hammer to score and break blocks, or for a cleaner finish, an angle grinder with a diamond blade. Safety first! Always wear goggles and a mask when cutting.
- Regular Checks: Use your spirit level and building line consistently as you build the courses to ensure the staggered pattern remains straight and perfectly aligned.
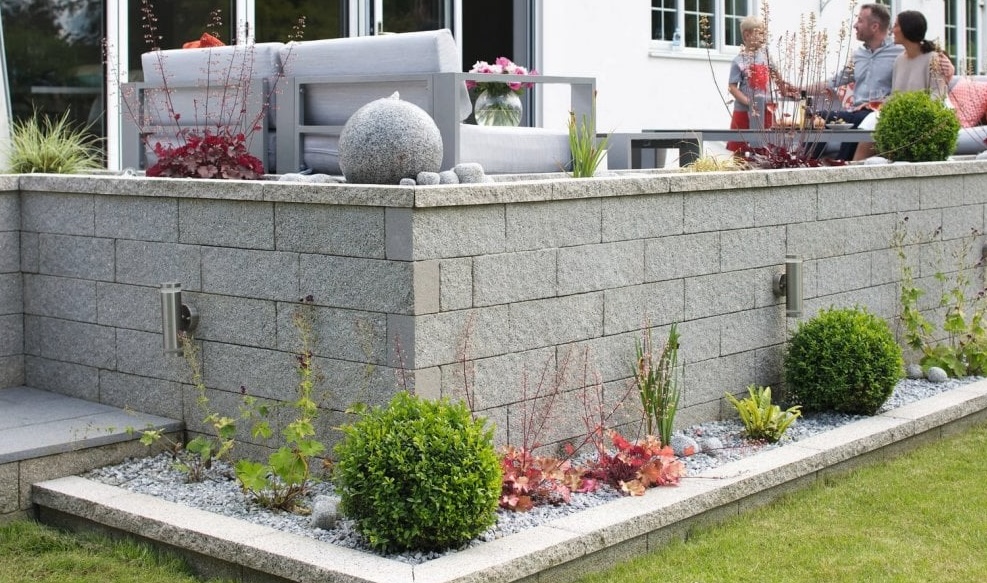
Step 6 – Top the Wall with Matching Coping: The Finishing Touch
The top of the wall is exposed to the elements, so the coping is vital for protection and aesthetics.
What is Coping?
Coping is the protective top layer (often stone, brick, or pre-cast concrete) that covers the wall. It’s designed to shed rainwater away from the vulnerable top and sides of the wall.
- Protect Your Investment: Without coping, rainwater can seep into joints, weaken mortar, and cause long-term erosion. Coping extends the life of your wall.
- Setting the Coping:
- Apply Mortar: Spread a fresh, uniform layer of mortar across the top of the wall.
- Place the Coping: Carefully place the coping material, tapping gently with a rubber mallet to bed it firmly and ensure a tight fit.
- Finishing the Joints: Use a pointer trowel to smooth and finish the mortar joints between the coping stones and the blocks below. A neat joint makes the wall look professional and prevents water infiltration.
- Final Clean Up: Wipe away any excess mortar from the coping and wall face with a damp sponge before it dries.
Troubleshooting & Important Considerations
How to Cut Bricks
- Mark: Draw a straight line around the brick where you need to cut.
- Score: Use a bolster chisel and club hammer to score the line deeply on all four faces.
- Cut: Place the chisel on the scored line and strike firmly once or twice to snap the brick cleanly. However, this takes practice!
Common Mistakes to Avoid
- Rushing the Foundation: A poor foundation leads to cracks and eventual wall failure. Always wait for the concrete to cure.
- Inconsistent Mortar: If your mortar is too wet, it will ooze out and be weak. If it’s too dry, it won’t bond properly. Aim for a mix that holds its shape yet spreads easily.
- Not Using a String Line: This is the single biggest cause of a wobbly, non-plumb wall. Use the line for every single course.
Laying the Foundations for Success
Building a garden wall might seem like a big undertaking, but as this guide shows, with the right preparation and a clear plan, it’s a completely achievable challenge for the ambitious DIYer. By prioritising a solid, frost-deep foundation and meticulously using your line and level on every course, you’ve laid the groundwork for a feature that will stand the test of time.
Whether you’re defining a new flower bed, edging a patio, or creating a secure boundary, the core principles of using quality materials and allowing proper curing time remain essential.
Ready to start digging, or maybe you need to stock up on materials for the next phase? At Beatson’s, we have all the essential supplies for the job. From robust bricks and concrete blocks to cement and sand, you’ll find everything you need to bring your garden wall plans to life.
Related
The Ultimate Aggregates Project Guide: Measurement, Calculation, and Best Practices
Comments are closed here.