
How to Hang a Door: A Step-by-Step Guide to Fitting Internal Doors
Hanging a new internal door is one of those DIY jobs that feels a bit daunting until you actually get stuck in. Whether you are replacing an old, tired door or fitting out a new extension, getting it right makes the difference between a door that glides shut and one that creaks, sticks, or lets in a draft.
At Beatson’s, we’ve been supplying the trade and DIYers across Scotland since 1966. We know that with the right tools and a bit of patience, anyone can achieve a professional finish. This guide will walk you through fitting an internal door from start to finish.
TL;DR
- Measure the frame (not the old door) in three places.
- Trim the door using a saw or plane, ensuring you don’t exceed the manufacturer’s trimming allowance.
- Recess the hinges at 150mm from the top and 230mm from the bottom.
- Pre-drill all screw holes to prevent splitting.
- Fix the top hinge first, check the swing, and then finish the job.
Content
Tools & Materials Checklist
Before you start, make sure you have everything laid out. There is nothing worse than being halfway through hanging a door and realising you’ve misplaced your wood chisel.
- Your new internal door (Check our range if you haven’t picked one yet!)
- Tape measure
- Pencil (for clear marking)
- Hand saw (fine-toothed is best for a clean cut)
- Wood plane (electric or hand plane for fine adjustments)
- Chisel set (sharpened and ready)
- Mallet
- Power drill and bits
- Screwdriver
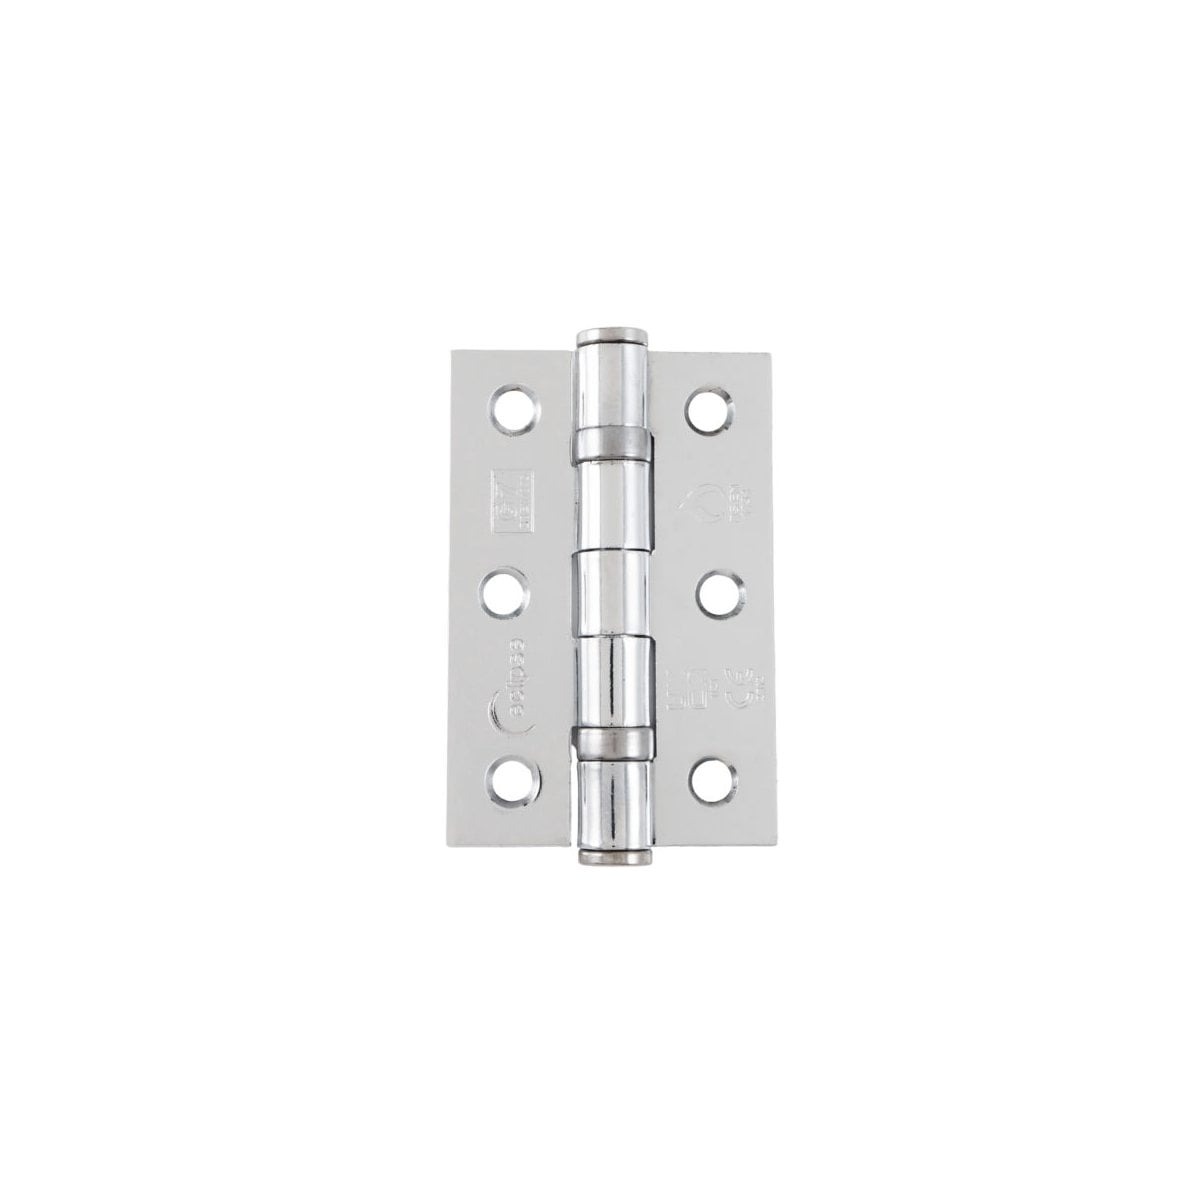
- Hinges and wood screws
- Sandpaper (medium and fine grit)
- Door wedges (to hold the door in place while fitting)
Step 1: Measuring the Opening
Accuracy is everything here. You need to measure the door frame (the “opening”), not your old door, as the frame might have settled or shifted over time.
- Measure the width: Take three measurements: top, middle, and bottom. Use the widest measurement to determine your door size.
- Measure the height: Take measurements on both the left and right sides from the floor to the underside of the lintel.
- Check for square: Use a framing square or measure diagonally from corner to corner. If the diagonal measurements are the same, your frame is perfectly square.
- Allow for a gap: You want a 2mm to 3mm gap at the top and sides, and about 5mm to 10mm at the bottom (depending on your flooring or carpet thickness).

Step 2: Cutting the Door to Size
Most standard doors can be trimmed, but always check the manufacturer’s instructions first. Hollow-core doors have a limited “timber lipping” around the edges; if you cut too much off, you’ll lose the door’s structural integrity.
- Mark the trim: Hold the door up to the frame. If it’s too big, mark where it needs trimming with your pencil.
- Cut the bottom: If you need to remove a significant amount, use a hand saw. For just a few millimetres, a wood plane is better.
- Plane the sides: Use your plane to shave them down. Always plane towards the centre of the door at the corners to avoid splintering the wood.
Step 3: Marking and Recessing the Hinges
Standard internal doors usually require two hinges, but heavier solid-wood doors often require three.
- Positioning: Generally, the top hinge should sit 150mm (6 inches) from the top of the door, and the bottom hinge 230mm (9 inches) from the bottom.
- Trace the hinge: Hold the hinge against the door edge and draw around it with a sharp pencil.
- Chisel the “recess”: Use your chisel and mallet to cut the outline. Then, make a series of small “relief” cuts across the width of the recess before carefully paring away the wood to the depth of the hinge plate.
- Test the fit: The hinge should sit flush with the wood.
Step 4: Fitting the Hinges to the Door
- Pre-drill holes: This is a vital step! If you drive screws directly into the door, you risk splitting the timber. Use a drill bit slightly smaller than your screws.
- Fix the hinges: Screw the hinges into the door. Ensure the screws are driven in straight so the heads sit flush.
Step 5: Hanging the Door
This step is where an extra pair of hands or sturdy door wedges comes in very useful.
- Align with the frame: Prop the door open using wedges. Align the hinge plates with the marks on the door frame.
- Mark and chisel the frame: Just like you did with the door, mark the hinge positions on the frame and chisel out the recesses.
- Screw to the frame: Fix the top hinge first with a single screw, then the bottom. This step allows you to check the swing before committing all the screws.
- Test the swing: Open and close the door. If it’s binding or sticking, you may need to plane a bit more off the edges or deepen a hinge recess.
Common Mistakes to Avoid
- Cutting too much off a hollow door: You’ll end up with a gaping hole in the bottom. If you need to trim more than 10 mm-20 mm, look for a different door size or a solid-core option.
- Not checking the floor clearance: Always account for the thickness of new carpets. You don’t want to finish the job only to find the door won’t open over the rug.
- Blunt chisels: A blunt tool will tear the wood fibres rather than cut them, resulting in a messy, unprofessional finish.
- Ignoring the “Leading Edge”: It helps to slightly plane the “lock side” of the door at a very shallow angle (about 2 degrees) towards the inside. This step ensures the edge clears the frame easily as it swings shut.
Frequently Asked Questions (FAQs)
What size hinges do I need for an internal door?
For most standard internal doors, 75mm (3-inch) butt hinges are the norm. If you are hanging a heavy fire door or a solid oak door, you should use 100mm (4-inch) hinges and install three per door.
Can I hang a door on my own?
Yes, it is possible, but it is much easier with two people. If you are working solo, door wedges are your best friends for keeping the door at the right height while you line up the screws.
Should the hinges be on the left or right?
Hinge orientation usually depends on the room’s layout. A door should generally open against a wall so it doesn’t obstruct the path of travel through the room.
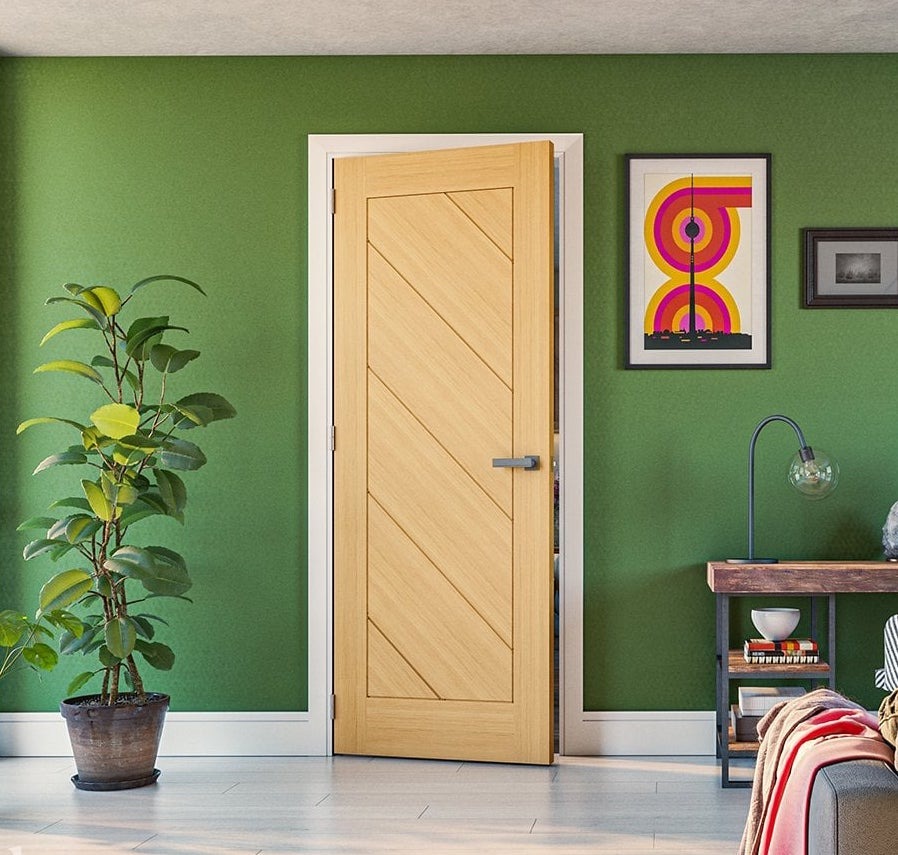
Getting a door to hang just right, where it clicks shut perfectly without any sticking or annoying creaks, is a proper DIY win. It might take a bit of patience and a few extra passes with the plane, but that smooth swing makes all the difference to how a room feels. If you’ve followed the steps and realised you still need to pick out the perfect handles or a specific latch to finish things off, we have plenty of options in stock to suit your style.
Need supplies? From the doors themselves to the screws and chisels, you can find everything at your local Beatson’s branch; our team is happy to help!
Read Next
The Ultimate Guide to Internal Doors
DIY Guide: How to Fit a New Door Handle
Everything You Need to Know About Keylite Windows
Comments are closed here.