
DIY Guide: How to Fit a New Door Handle
Replacing a worn-out handle or fitting a fresh one to a new door is one of the most satisfying quick fixes you can do at home. It’s a project that doesn’t require a van full of tools, just a bit of patience and the right measurements. Whether you’re updating your style or finishing off a renovation, getting the handle to sit right and click smoothly makes all the difference to how a room feels.
TLDR
- Tools needed: Drill (with 2mm and 20- 25 mm bits), screwdriver, chisel, mallet, and a pencil.
- Measure twice: Check your “backset” (the distance from the door edge to the centre of the handle hole) before buying your latch.
- The Process: Mark your height, drill the large hole for the spindle and a smaller hole for the latch, recess the faceplate with a chisel, and screw everything into place.
Content
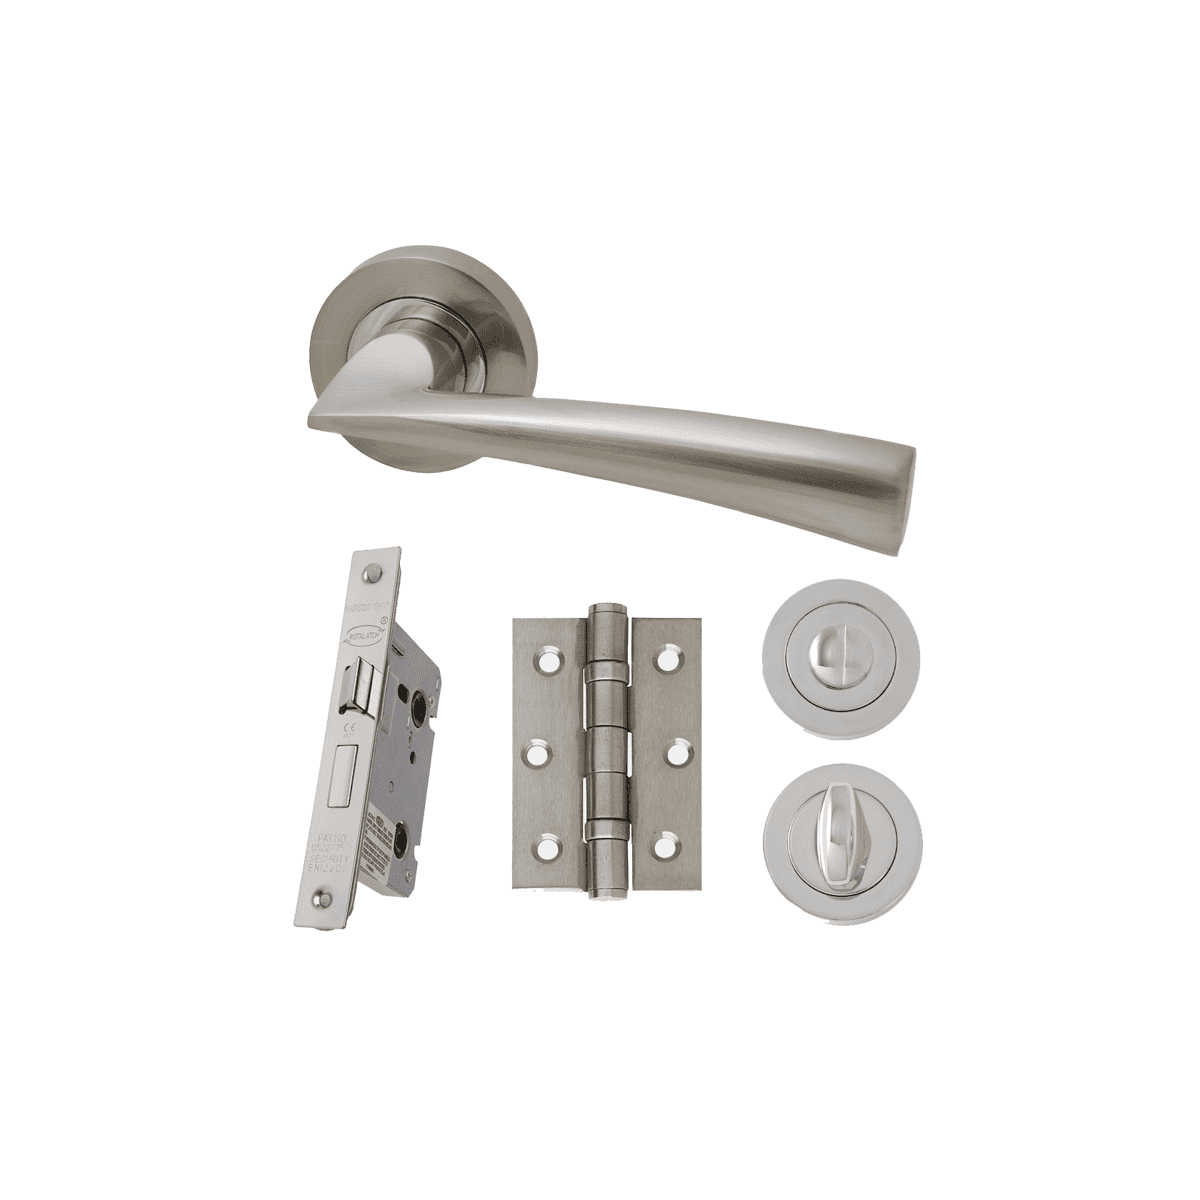
Preparation: Things to Consider Before Buying a Handle
Before you head to your local Beatson’s branch or browse our range of handles, you need to know exactly what fits your door.
- Replacement vs New Installation: If you are learning how to replace internal door handles on an existing door, measure the distance between the screw holes of your current handle. Choosing a new handle with a larger backplate can save you from patching and painting old holes.
- The Backset: This is the most important measurement. It is the distance from the edge of the door to the centre of the handle. Standard UK latches are usually 64mm (2.5 inches) or 76mm (3 inches).
- Handle Type: Do you want a lever on a rose (circular base), a lever on a backplate (rectangular), or a traditional door knob? Lever handles are generally easier to install for beginners as they offer more leverage and often hide the screws behind a clip-on cover.
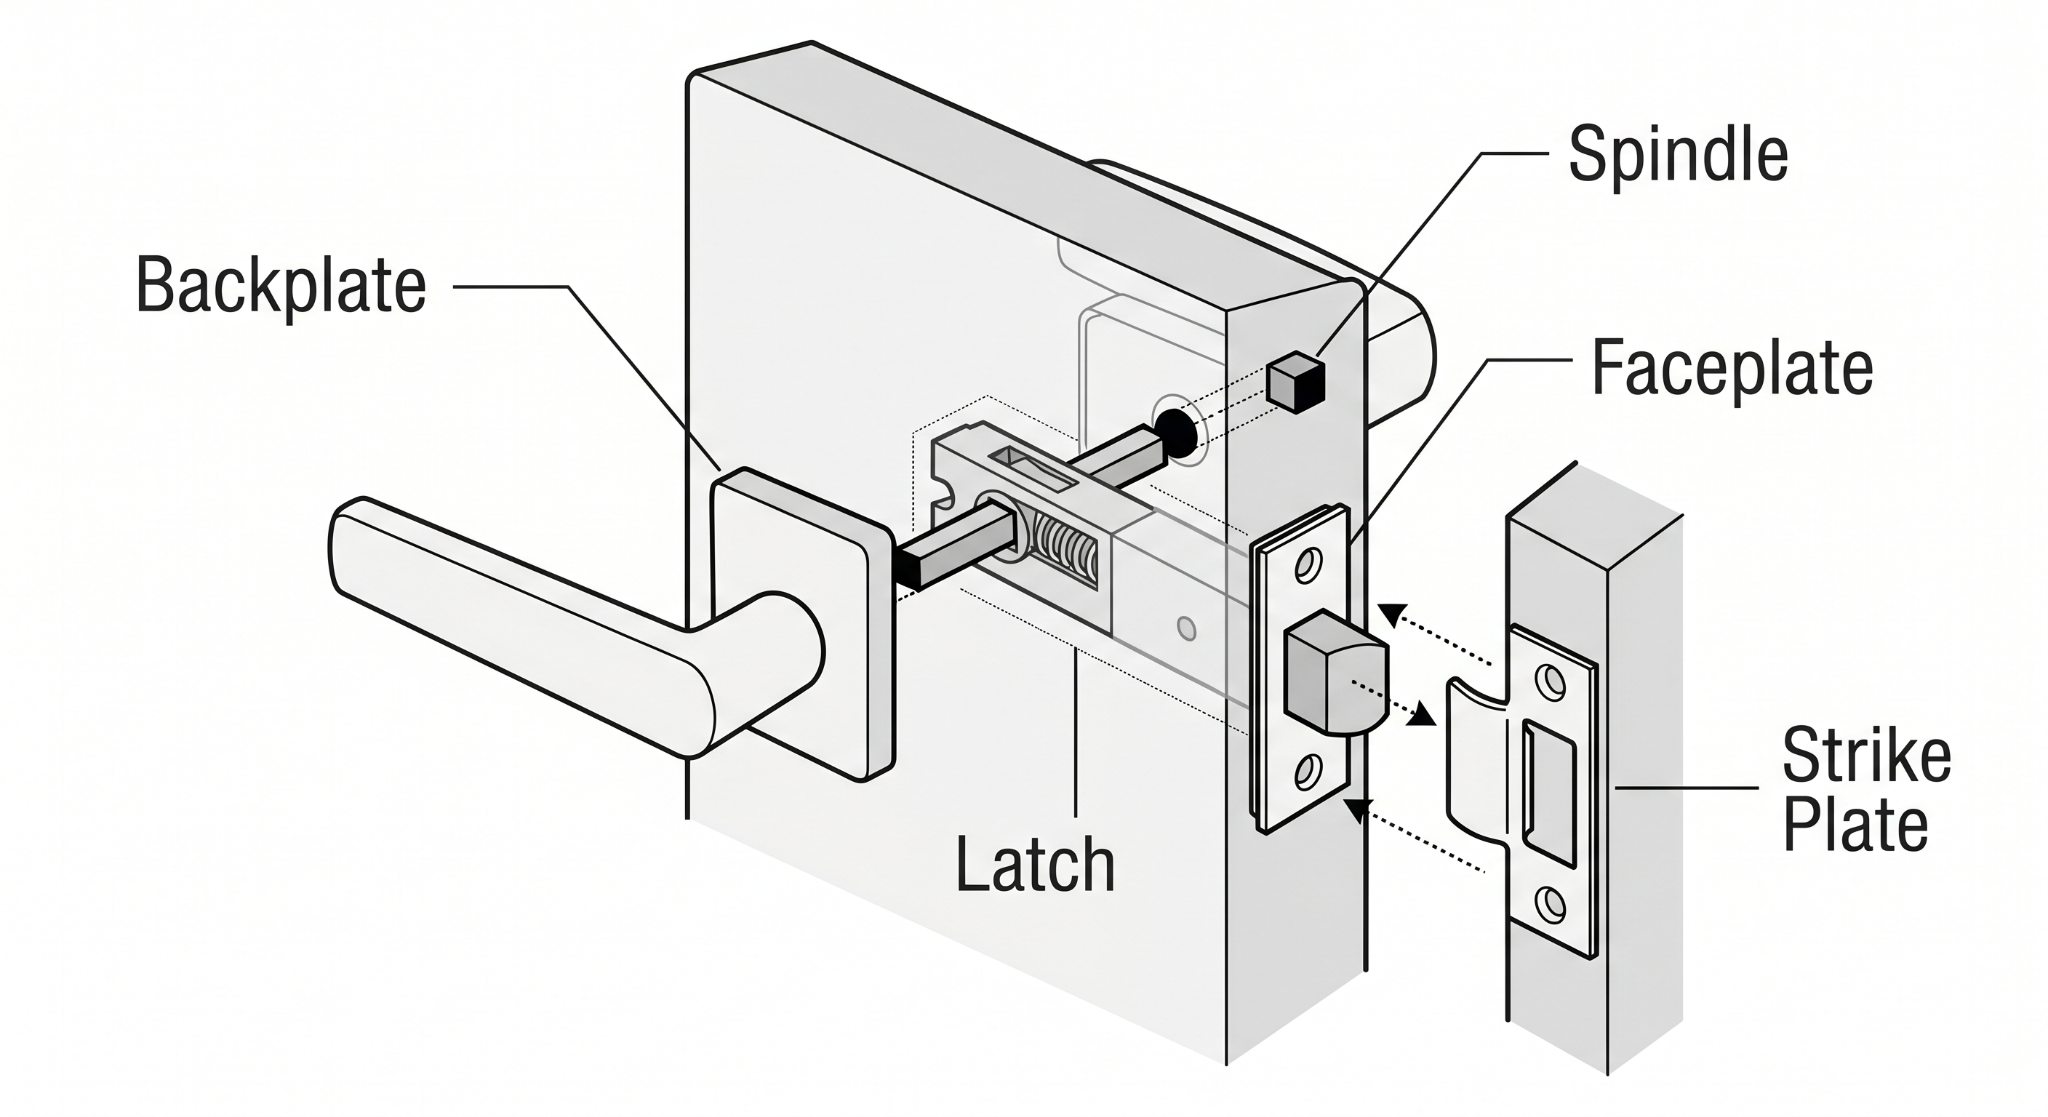
Know Your Hardware: A Quick Guide to Door Handle Parts
Before you get the drill out, it’s worth making sure we’re all on the same page with the lingo. Door hardware can feel a bit like a jigsaw puzzle, but once you know which piece is which, the installation becomes much more straightforward.
1. The Latch
Think of this as the “business end” of the hardware. It’s the spring-loaded mechanism that sits inside the door. When you turn the handle, the latch retracts so you can open the door; when you let go, it pops back out to keep the door shut.
2. The Spindle
The spindle is a square metal bar that acts as the bridge between your two handles. It passes through the door and the latch mechanism. When you turn the handle, the spindle rotates, operating the latch.
3. The Faceplate
This is the metal plate found on the thin edge of the door. The latch sticks out through the middle of it. Its job is to keep the internal mechanism secure and provide a neat, flush finish against the wood.
4. The Backplate (or Rose)
This is the part of the handle that sits flat against the door face. If it’s a long rectangular shape, it’s a backplate. If it’s a small circular or square base, it’s usually called a rose. These cover up the internal workings and give you a solid place to screw the handle to the door.
5. The Strike Plate
While everything else is fitted to the door itself, the strike plate is fitted to the door frame. It’s the metal plate that the latch clicks into when the door is closed. It protects the timber frame from wear and tear and ensures the door stays firmly shut.
Step 1: Fitting the Latch
The latch is the “engine” of the door handle. If this isn’t straight, the handle will stick.
- Mark the height: Most door handles are fitted about 1000mm (1 metre) from the floor. Use a pencil to mark this height on the edge and the side of the door.
- Drill the latch hole: Using a spade bit (usually 20mm or 25mm, depending on the latch size), drill into the edge of the door. Keep the drill perfectly level. Top tip: Don’t drill all the way through the side of the door yet; stop once the depth matches the latch body’s length.
- Recess the faceplate: Insert the latch, then draw around the metal faceplate along the door edge. Remove the latch and use a sharp chisel and mallet to cut a shallow recess so the plate sits flush with the wood.
- The Spindle Hole: Mark the “backset” point on the door’s side. Using a large drill bit, drill through the side of the door so the spindle (the square metal bar) can pass through the latch.
Step 2: Fitting the Handle
Now that the internal mechanism is in, it’s time to install the door handle itself.
- Insert the Latch: Slide the latch into the door edge and screw the faceplate into the recess you chiselled earlier.
- Position the Handles: Push the spindle through the latch. Slide a handle onto each side of the spindle. Ensure they are level.
- Pilot Holes: Use a pencil to mark the screw holes. Remove the handles and drill small 2mm pilot holes. This prevents the wood from splitting when you drive the screws in.
- Secure the Handles: Screw the handles into place. If you have “bolt-through” fixings, these go all the way through the door to the handle on the other side for extra sturdiness.
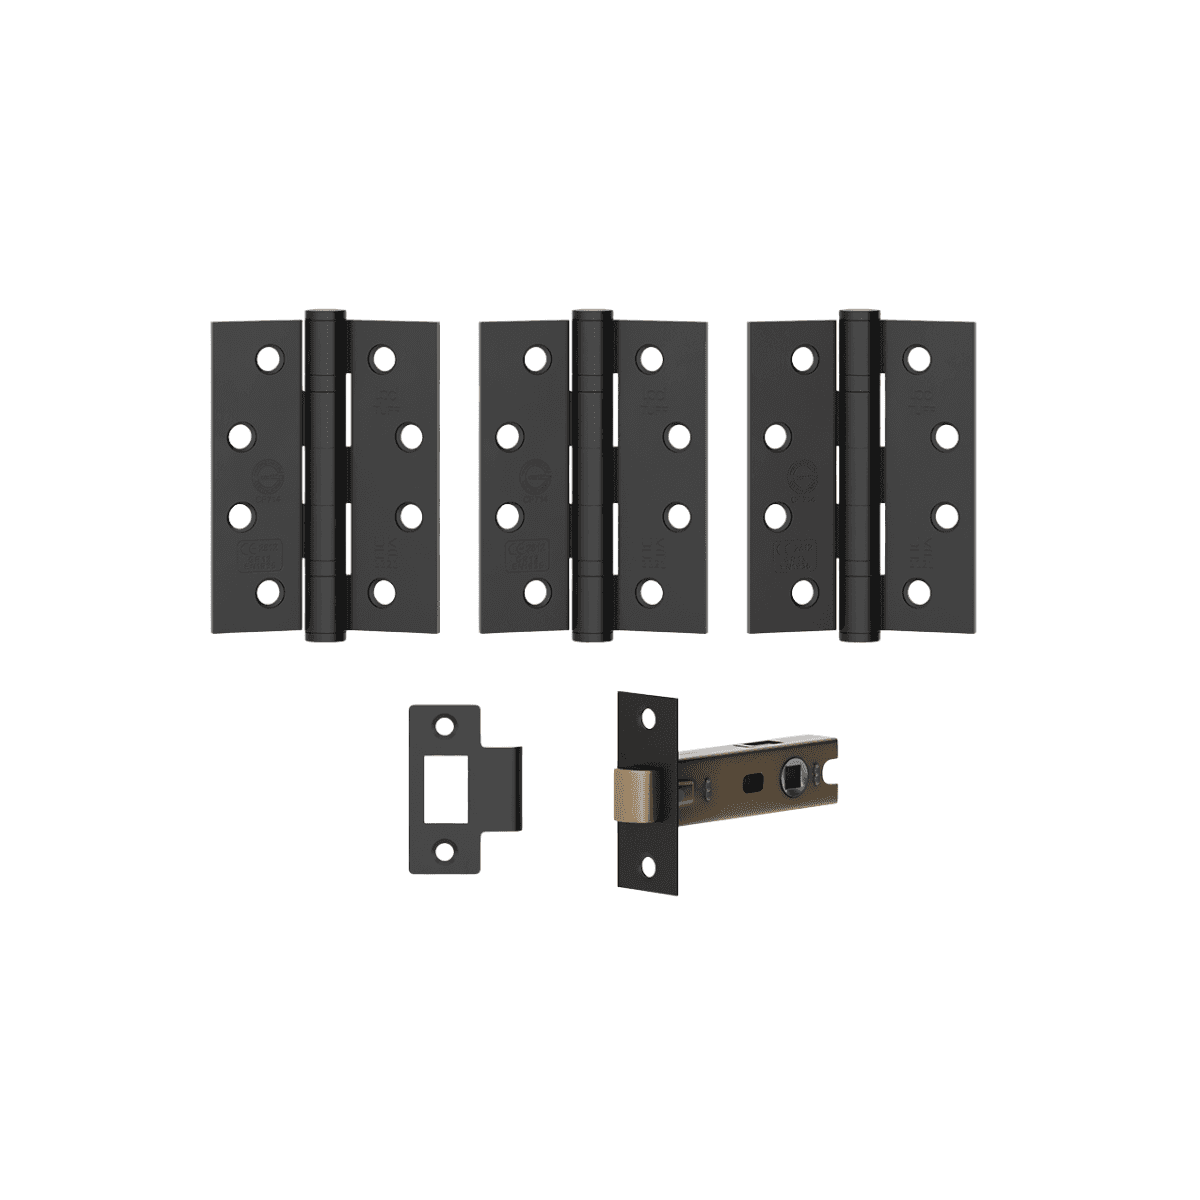
- The Strike Plate: Close the door gently to see where the latch hits the door frame. Mark this spot, chisel out a recess for the strike plate (the metal bit on the frame), and screw it in.
Frequently Asked Questions (FAQs)
Can I fit a door handle to a brand-new door myself?
Yes, you certainly can. The main difference with a new door is that there are no pre-existing holes, so you have a “blank canvas.” Just ensure you follow the “measure twice, cut once” rule. If you are working with a fire door, ensure the latch and handles are fire-rated to maintain the door’s safety integrity.
Why is my door handle stiff after installation?
This usually happens if the spindle is slightly misaligned or the holes aren’t perfectly straight. Try loosening the screws on the handle plates slightly to see if the handle moves more freely. If it does, you may need to widen the hole for the spindle slightly so it doesn’t rub.
How do I know which latch size to buy?
If you are replacing a handle, measure from the edge of the door to the centre of the spindle hole. If it’s 45mm, you likely need a 64mm latch. If it’s 57mm, you’ll need a 76mm latch. At Beatson’s, we stock a range of sizes to match standard UK door widths.
Do I need a professional to replace internal door handles?
For standard internal doors, this is a very manageable DIY task. However, if you are fitting handles to external doors that require multi-point locking systems or high-security cylinders, you might want to consult a specialist or a locksmith to ensure your insurance requirements are met.
Need the gear to get started? We have all of the tools you need at Beatson’s to get the job done right. Pop into your local branch for a chat with the team if you’re unsure which fixings you need.
Read Next
The Ultimate Guide to Internal Doors
How to Hang a Door: A Step-by-Step Guide to Fitting Internal Doors
Everything You Need to Know About Keylite Windows
Comments are closed here.