
How to Build a Pergola: A Step-by-Step Guide for Beginners
Adding a pergola is one of the most effective ways to upgrade your garden. It creates a defined spot for dining, provides a sturdy frame for climbing plants, and adds a touch of architectural interest to your home.
If you are looking for a straightforward DIY project that makes a big impact, building a pergola is a great place to start. In this guide, we’ll walk you through the process from the first measurements to the final coat of timber treatment.
TL;DR
- Plan Ahead: Check for underground pipes and local planning rules before digging.
- Gather Tools: You’ll need a drill, spirit level, saw, and basic safety gear.
- Set the Foundation: Digging deep and levelling post holes is the most important step for a sturdy finish.
- Framework: Secure your main support beams first, followed by the cross-rafters.
- Maintenance: Use high-quality treated timber and a good wood preservative to ensure it lasts for years.
Content
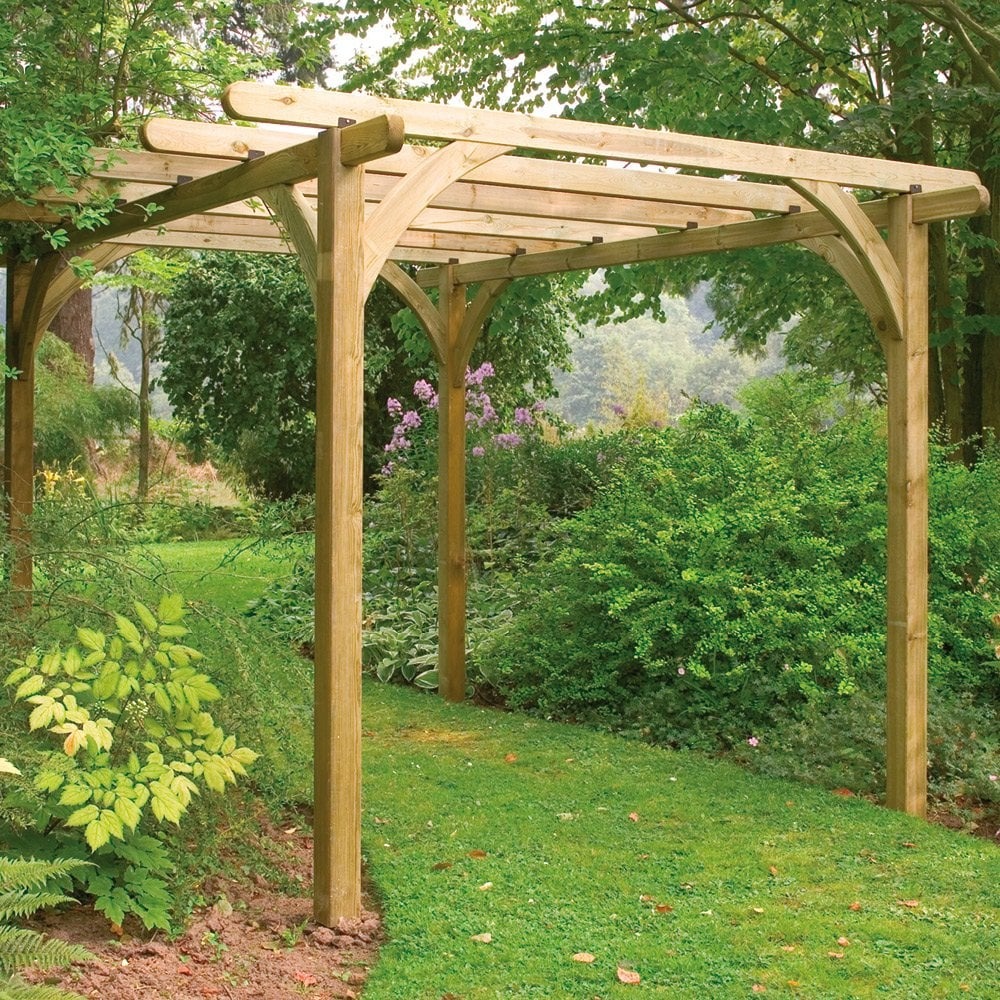
Planning and Preparation
Before you pick up a shovel, take a moment to think about placement. Consider the sun’s path throughout the day; do you want full sun for afternoon drinks, or a dappled-shade spot for reading?
Top Tip: Check for any underground services, such as water pipes or electrical cables, before you start digging. While pergolas usually don’t require planning permission, it’s always worth a quick check with your local authority if you live in a conservation area or a listed building.
Tools & Materials Checklist
To get a professional finish, you’ll want to have everything ready to go. You can find more essentials in our building supplies section.
- Timber: Support posts (usually 100mm x 100mm), main beams, and rafters.
- Post-Hole Digger or Spade: For foundations.
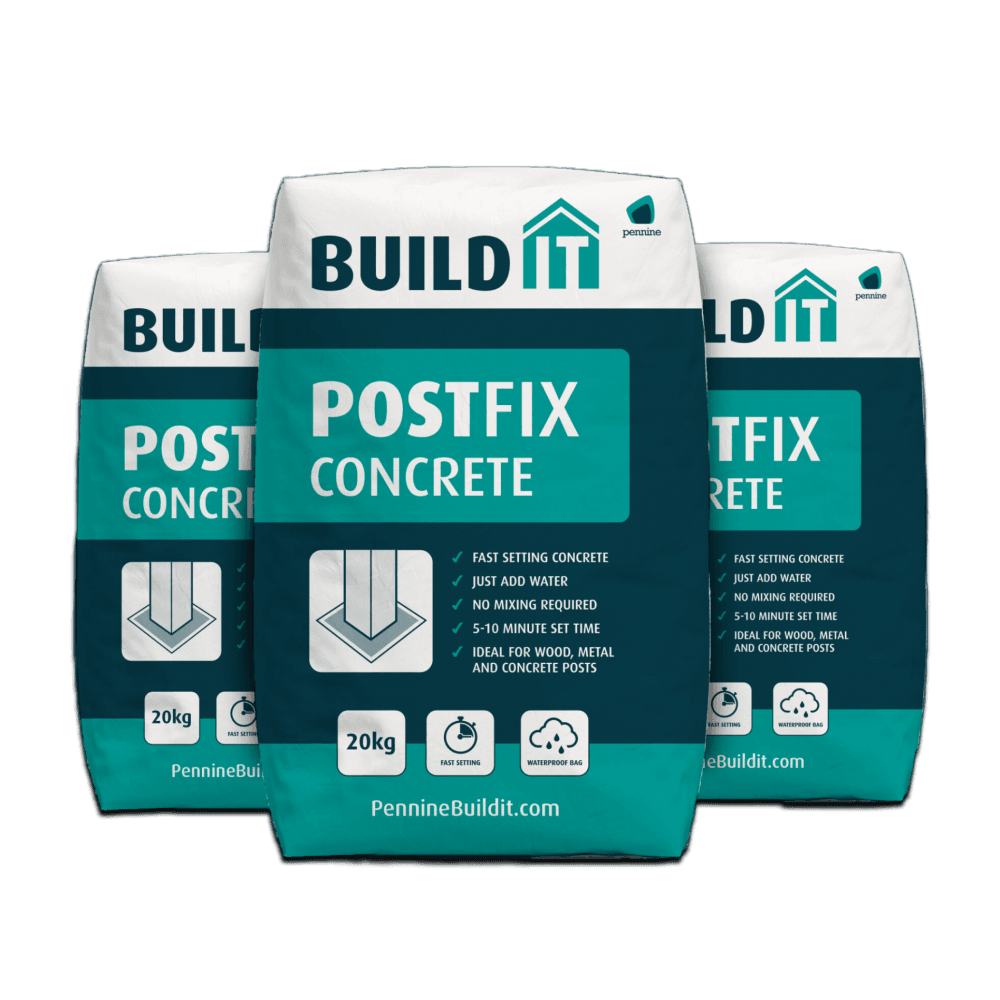
- Concrete: Post-mix is the fastest way to set your posts.
- Spirit Level: Essential for ensuring everything is straight.
- Tape Measure and Pencil: Measure twice, cut once!
- Wood Screws: For secure fixings.
- Safety Gear: Gloves, eye protection, and sturdy boots.
Step-by-Step Construction Guide
Step 1: Setting the Posts
The secret to a long-lasting pergola is a solid foundation.
- Mark out your four corners with stakes and string.
- Dig holes roughly 600mm deep. This ensures the structure stays stable against the wind.
- Place your posts in the holes. Use a spirit level on both sides of the timber to ensure they are perfectly vertical.
- Pour in your post-mix concrete and add water according to the bag instructions. Hold the post in place for a few minutes until it begins to set.
Step 2: Installing Beams and Rafters
Once your concrete is fully cured, it’s time to build the “roof.”
- Main Beams: These are the long horizontal pieces that connect your posts. Clamp them in place first to check they are level, then secure them with heavy-duty wood screws or bolts.
- Cross-Rafters: These sit across the main beams. Space them evenly (usually 400mm to 600mm apart) to create that classic pergola look. For a decorative touch, you can cut the ends of the rafters at an angle before mounting them.
Step 3: Finishing Touches
Check all your fixings one last time. If any timber is overhanging more than you’d like, trim it back with a hand saw for a clean, uniform finish. Give the wood a light sand on any rough edges to prevent splinters.
The Simple Option: Pergola Kits
If the idea of measuring and cutting each beam individually feels a bit daunting, a pergola kit is a fantastic alternative for beginners. These kits come “flat-pack” with all the timber pre-cut to size.
The Process:
- Layout: Lay all the components on the grass to familiarise yourself with the parts.
- Base: Set your posts as described in Step 1.
- Assembly: Since the notches are often already cut, the beams simply slot together like a puzzle.
- Secure: Use the provided fixings to lock everything into place.
It takes the guesswork out of the design and ensures a perfectly symmetrical result every time.
Customisation and Maintenance
Adding Trellis and Plants
A pergola really comes to life when nature takes over.
- Privacy: Adding trellis panels to one or two sides can create a more secluded feel.
- Climbing Plants: Wisteria, Honeysuckle, or Clematis are classic choices. They’ll wrap around the posts and rafters, providing natural shade and a lovely scent.
Long-Term Maintenance
To keep the timber looking fresh and prevent rot, we recommend treating your pergola once a year. Use a high-quality wood stain or preservative from our paving and landscaping range. This protects the wood from the weather and keeps it as a focal point in your garden for a long time.
Frequently Asked Questions (FAQs)
What is a pergola?
A pergola is an open-roof garden structure consisting of vertical posts that support horizontal beams and a sturdy open lattice. Unlike a gazebo, it doesn’t have a solid roof, making it feel much more integrated with the rest of your garden.
What is a pergola used for?
Pergolas are incredibly versatile. They are most commonly used to:
- Define a seating or dining area.
- Provide a support structure for climbing plants.
- Create a “walkway” or transition between different areas of the garden.
- Offer partial shade while still allowing a breeze to flow through.
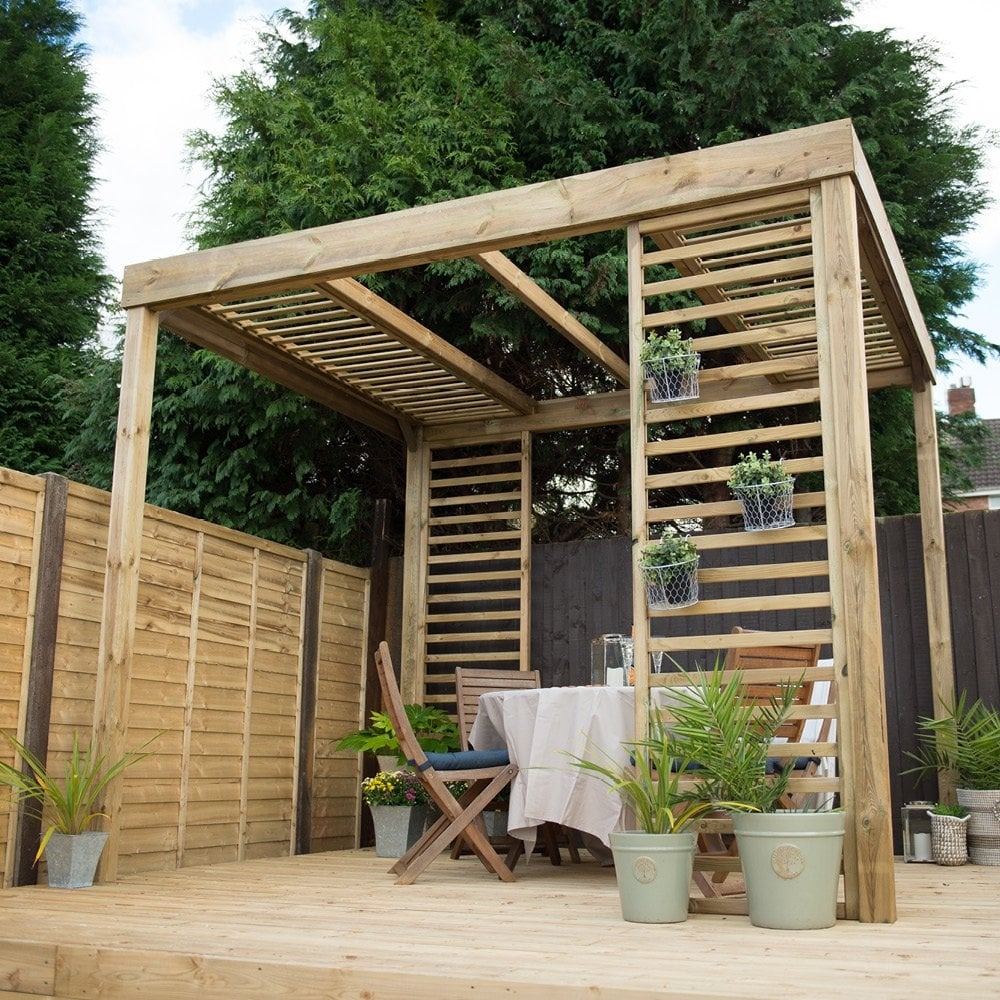
Ready to get started? Browse our full range of garden landscaping supplies online, or pop into your local Beatson’s branch for expert advice and all the materials you need for your project.
Read Next
Spring Garden Maintenance: The Complete Outdoor Cleaning & Repair Guide
How to Build a Garden Wall in 7 Easy Steps
How to Build Garden Steps
Comments are closed here.